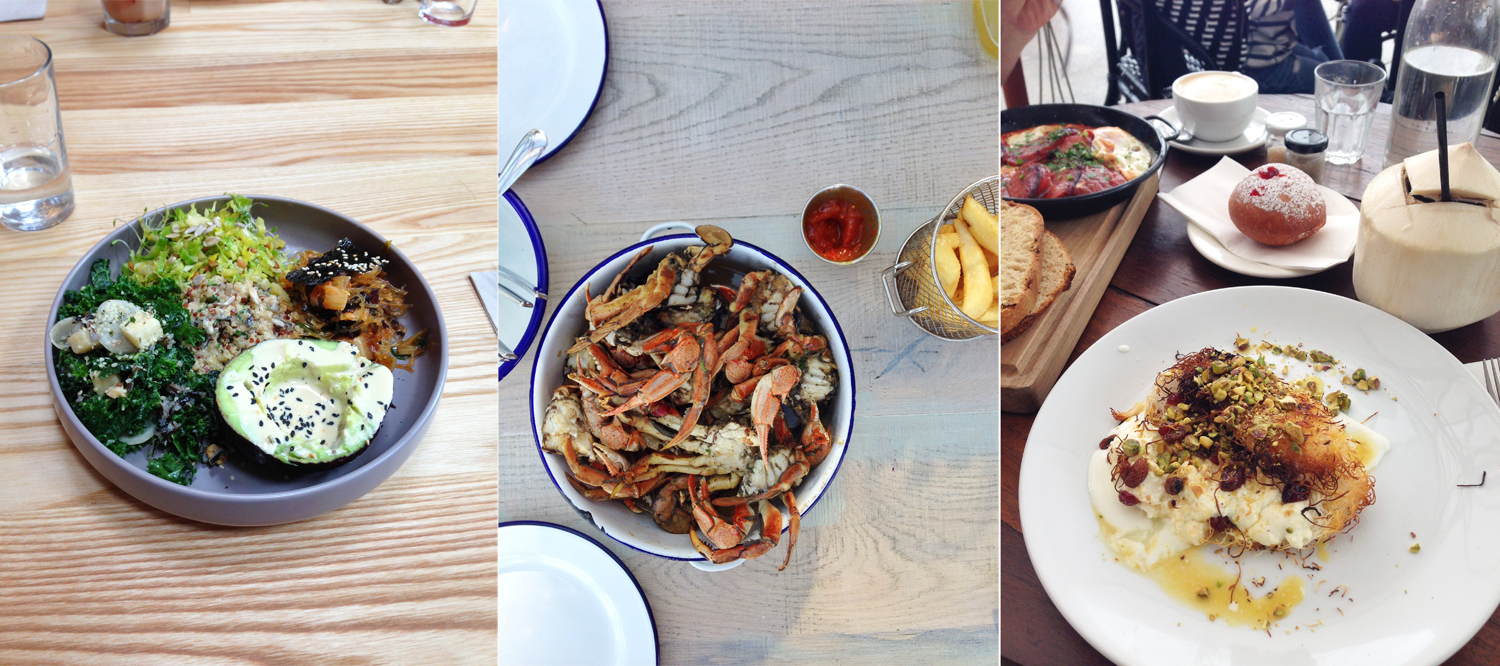
all photos taken using an iPhone 5
I spend about 85% of the time on my iPhone trawling through Instagram, for that instant dose of visual inspiration and gratification. I can’t be the only one, can I? I often get a little bit lost scrolling through an endless flow of perfectly edited (and curated) photographic imagery; the ante has definitely been upped since I first joined Instagram. Remember those faux bokeh light filters which were all the rage or the incessant use of the Valencia filter?
For those of you wishing to up your Instagram photo game – and I am by no means a pro at this – I thought I’d share a few quick tips and give you a little bit of insight into how I edit the photos you’ll find in my feed. My photos are a mixture of those taken on my camera (Canon EOS 5D Mark III) which I edit with Photoshop, and those taken on my iPhone 5, which I generally edit using a combination of VSCOcam and Snapseed.

Natural light is a must. The less light you have, the grainier your image will be – and no amount of editing will be able to fix that (well, not really). I prefer natural light for my photos (although beware of shadows!) as indoor lighting tends to add a golden yellow tone to most images.
Keep your hand steady. Especially when taking a photo using an iPhone. I generally take multiple photos of the same ‘shot’ and select the one which is the sharpest for editing. While you can increase the sharpness using the aforementioned apps, it looks a lot more natural if you don’t have to.
Make sure your phone lens is clean. Sometimes when I take a snap, I’ll notice that it’s come up looking slightly smoky or not quite as crisp and bright as I would have thought. Usually what this means is that there’s some dust residue or a finger print covering the lens. Quickly wiping it with a tissue (alternatively the hem of your jumper works just as well) solves this problem quick-smart.
Take your photo from different angles. One thing I notice on Instagram is that everyone takes photos from very similar angles – and usually of a very similar style (and hey, I’m guilty of it too!). The overhead shot for food, the angled ‘from where I stand’ shot, the fashion-themed flatlay – I could go on. Some of my favourite photos that I’ve taken using my iPhone have been from angles that I wouldn’t normally gravitate towards, so I think it’s always worth trying out a few different options. You never know, you might surprise yourself!
Don’t use Instagram filters. Personally, I’m not a huge fan of the filter options offered to you via the Instagram app. I prefer a nice, bright, clean image free from vignettes and over or underexposed filters. This however, is completely up to you, and it entirely down to personal preference. VSCOcam has possibly the best array of filters available which are natural looking and enhance the visual qualities of the image you are editing.

Use applications to edit your photos. I very rarely will post a photo that hasn’t been edited in some
way, even if it’s just to increase the brightness. A lot of my photos will go through two apps before I post them – and I know what you’re thinking, who has that much time to edit a photo, right? Well, once you get the hang of it, it’s usually a quick 2 minute edit before the photo is ready to be posted.
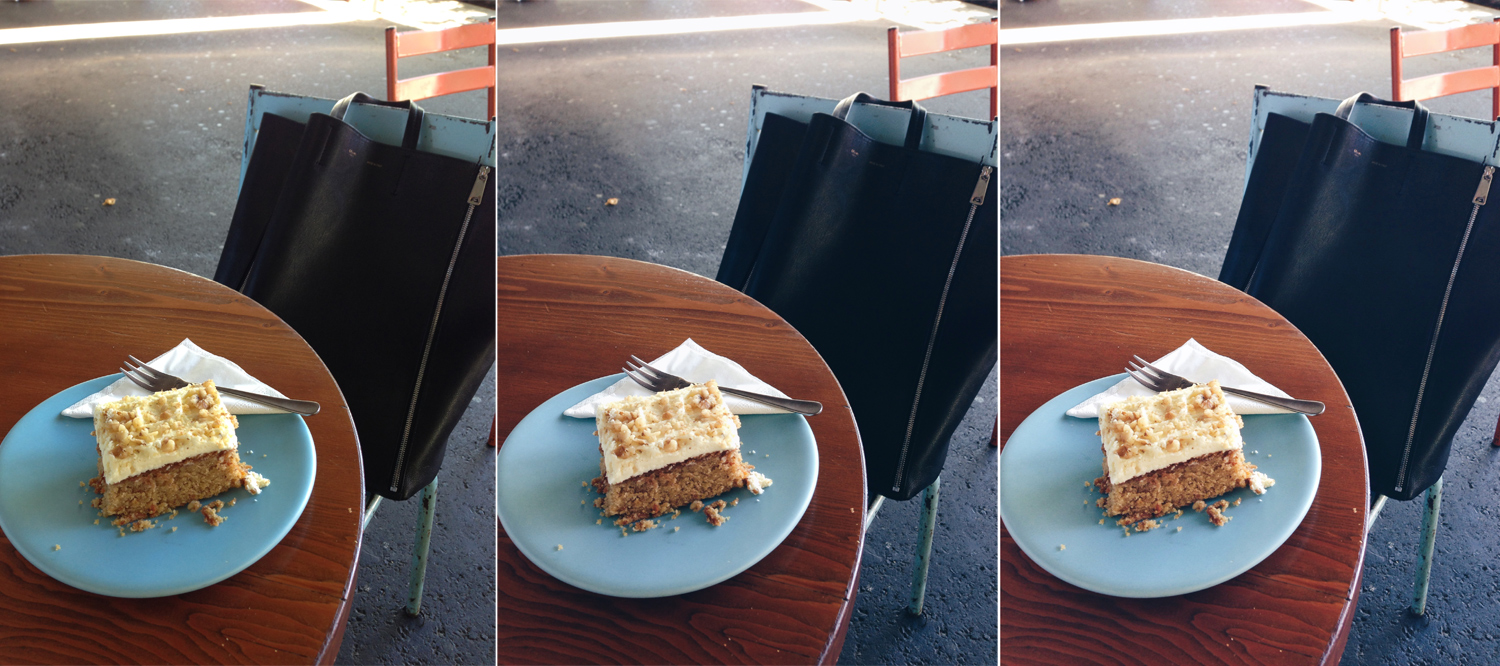
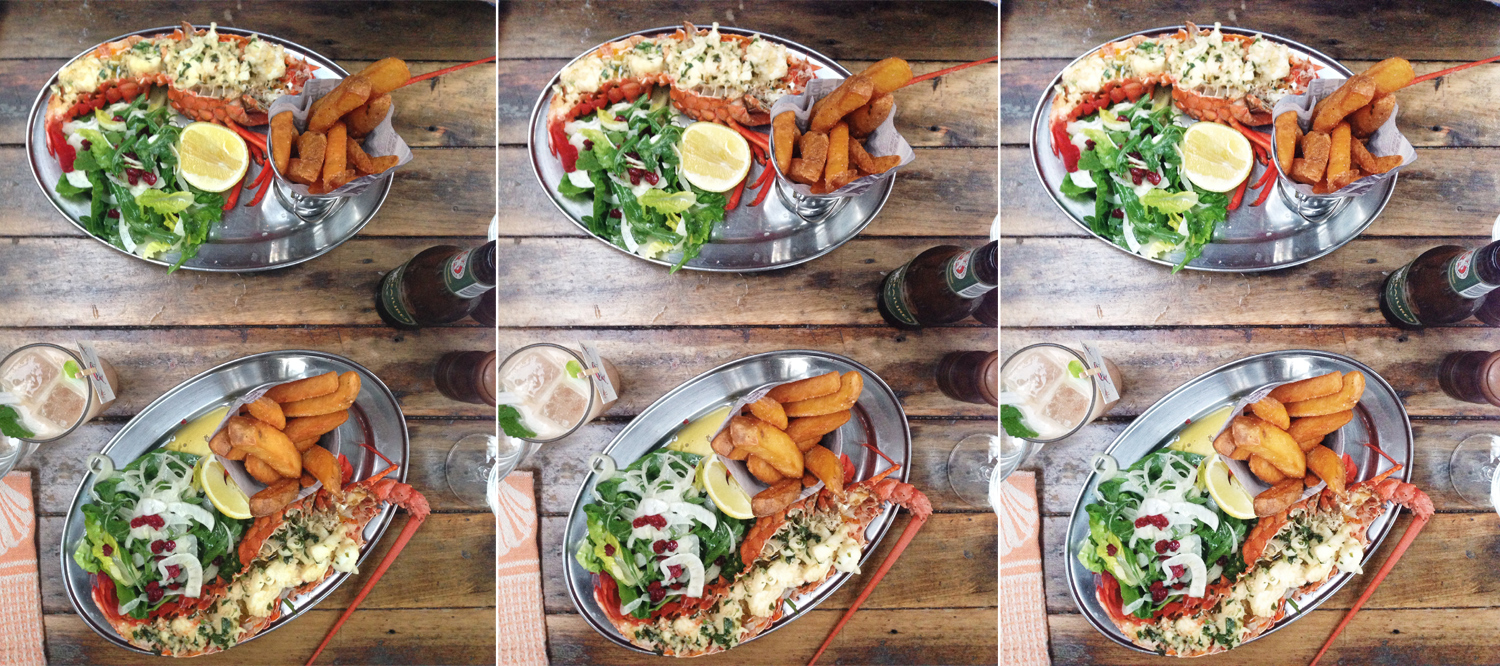
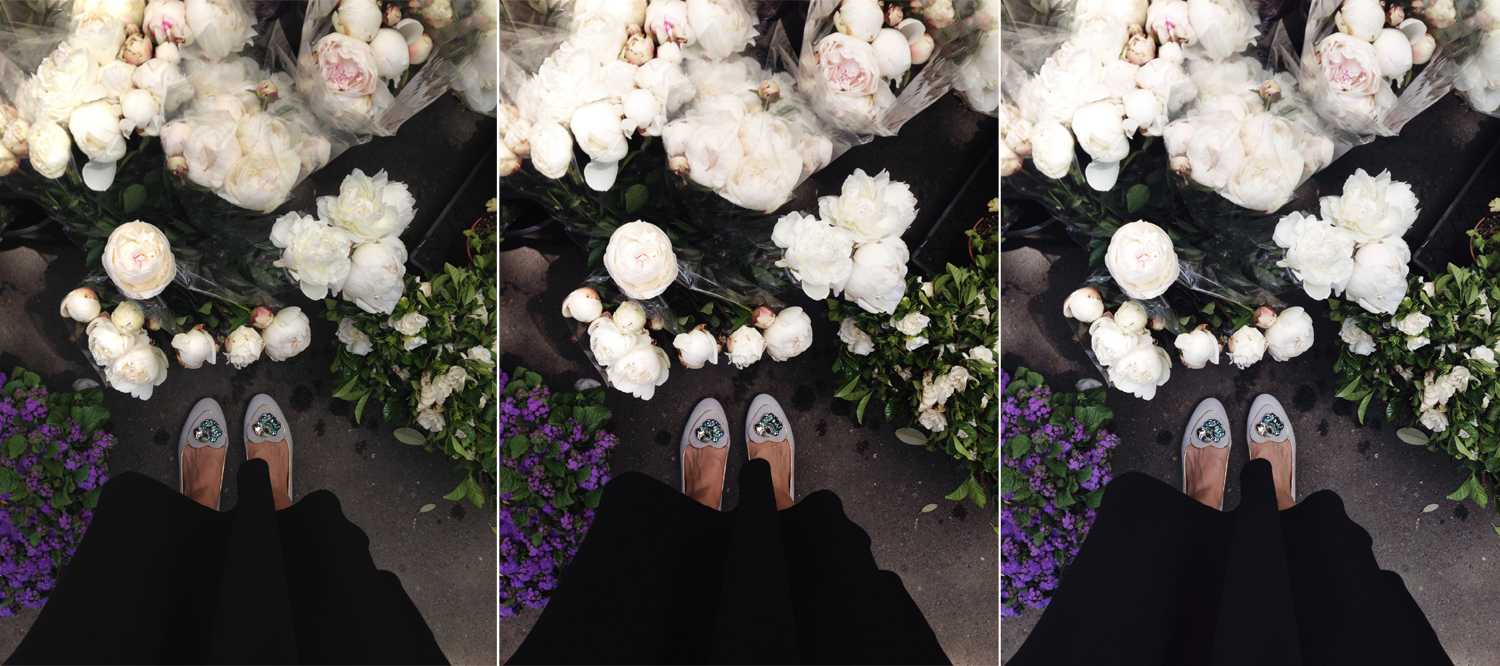
I start off with VSCOcam, importing my image and selecting a filter (which I usually dial down a notch – the full effect is usually a bit much for my taste). My favourite filters to use include B3 (for black and white), C3 (for a rosy tint), K1 (for a bit of definition), M6 (for a slightly faded look), S2 (to brighten up an image) and HB1 (for adding softness and removing harsh contrast – usually for blue toned images). You can edit further in VSCOcam (and truth be told, the editing capabilities are pretty expansive), but I prefer to make any additional adjustments in Snapseed. I generally only make changes under the ‘Tune Image’ tab, increasing the brightness, removing shadows, and decreasing warmth if only slightly (I do love a good cool tone to an image) – and Snapseed is probably one of the more user friendly apps I’ve tried.

To give you an idea of how much a photo can change using this process, I’ve included a few different examples in this post. The first photo is the original, unedited and unretouched. The second photo is after I’ve added a ‘filter’ in VSCOcam, and the final image is after the last little touch ups have been made using Snapseed – and what you’ll see posted on Instagram. The changes between the second and third images are a little more subtle, but it’s become part and parcel of the process I use to get a desired result.
I hope that this little guide is helpful, and I would love to know if you’ve got any other tips and tricks that you think I might have missed out.

